Direct from Japan! Amazing cooking tips and tools to make your life in the kitchen easier
Japan offers a wide range of food.
Not just Japanese dishes like sushi and tempura, but also other cuisines from around the world such as burgers, pizza, Korean, Chinese, Indian curries, Greek, Mexican – the list goes on. Japanese people love to eat.
Their love for food extends to cooking as well. In Japan, there are many techniques and handy tools that turn cooking into a fun, fast and easy activity to enjoy.
In today’s article, I’d like to share three of these tricks and handy tools.
How to instantly peel a boiled egg
Do you eat eggs?
In Japan, we love eggs so much that we eat them raw. When I lived in Australia, I was surprised when I learned we were told not to eat raw eggs.
Eggs may be fried, stirred into scrambled eggs, or used to make batter for noodles or cakes. The simplest of all is boiled eggs. It is a simple dish of just putting an egg in boiling water.
In Japan, half-boiled eggs are very popular. Ramen restaurants will often have ajitama (seasoned eggs) on their menus, and many serve it as half-boiled eggs.
While boiled eggs may be the easiest to prepare, there is one step that is always a bit of a hassle.
That is peeling the eggshells. I’m sure most people, at least once in their life, tried to figure out the best way to deal with this.
In Japan, where people love eggs, there is a secret method to easily and quickly peel an egg. You don’t even need tools. After reading this, anyone in the world would be able to do it.

I put the eggs in once the water is boiling. For half-boiled eggs, keep them in for 7 to 8 minutes.
Once the eggs are boiled, soak the hot eggs in cold water for approximately 30 seconds. This is a crucial step. Transferring the eggs from hot to cold water creates a space between the shell and the egg’s white part.
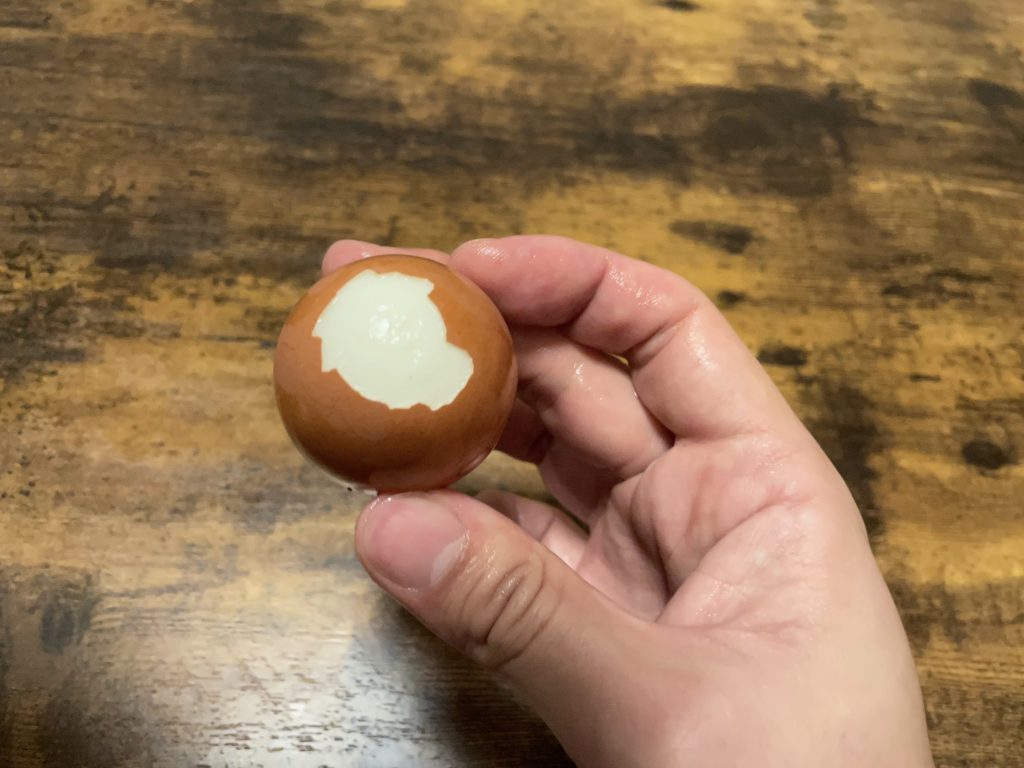
Next, make holes at the top and bottom of the egg’s shell. It should be about two centimetres long. Then, blow into the hole on the pointed side of the egg, and it should shoot out of the shell like a bullet.

You don’t have to peel off all the shells, just the top and bottom, and the rest will come off quickly.
I took a video of it so you can see it for yourself!
How to make whipped cream without using a whisk
I’ve been working from home for a while now, and I’ve been able to cook and spend more time in the kitchen than before.
I’ve also been increasingly using kitchen tools that I never used before.
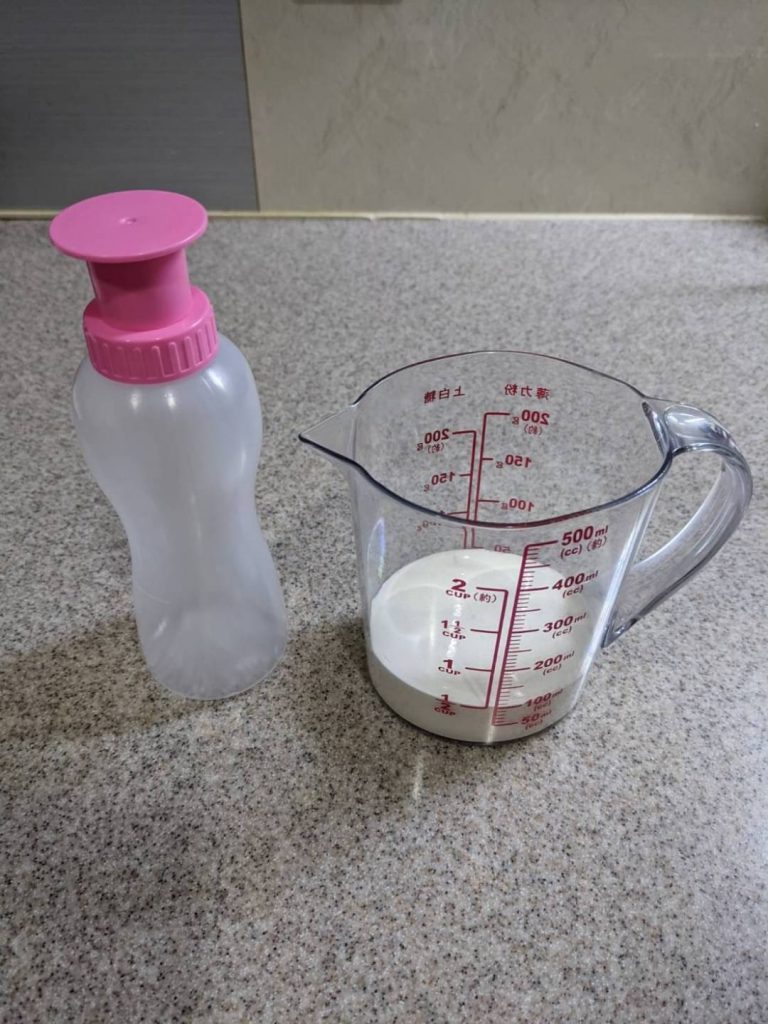
One of them is the “Furifuri Cream Maker” that I bought at a 100-yen store.
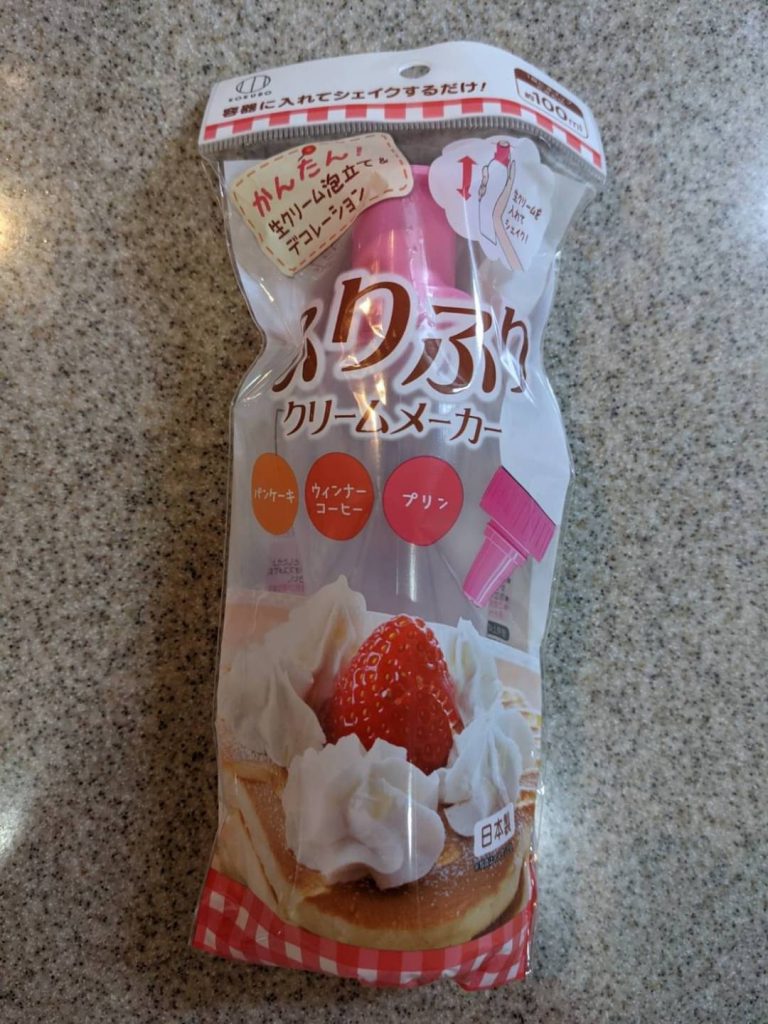
It claims you can make whipped cream without a mixer.
I immediately bought some fresh cream to try it out.
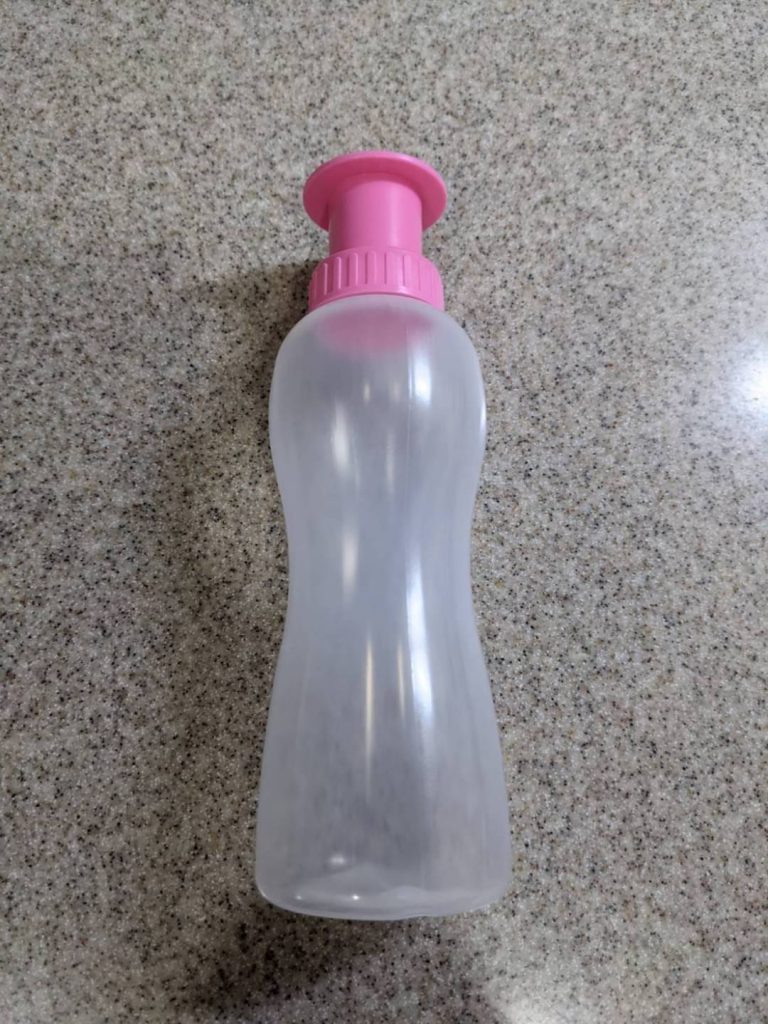
The container is made from a soft plastic material with a curved design making it easy to hold.
I poured 100ml of fresh cream into the container and started to shake it around.
The recommended time is three to five minutes, so let’s try it for three minutes.
Within the first 30 seconds, my arms and shoulders started to burn and collapse.
How can the simple act of shaking a container be so tiring?
After that, I tried it with my left hand.
Soon, my left hand gave in as well.
I had no choice but to switch back to my right hand and shake it again.
You can see how exhausted I was if you watch the video.
I kept changing my hand and the way I held it, but there was no sign of whipped cream.
I wondered how long this pain would last. I felt like I was walking in the darkness with no way out.
After five minutes, I poured it onto a plate to have a look at my progress.
It was mostly liquid. I wondered what had happened in those five minutes.
One possible reason is the temperature. Typically, whipped cream is made with ice water to cool it down. Maybe the temperature of my hands warmed it up.
I decided to take a break and put the container in the refrigerator to cool it down before starting again.
It’s been in the fridge for an hour. Here we go again.
I shook and shook the cooled container and realised my fatigued arms hadn’t recovered as much as I thought.
Still, I kept going and waited for the cream to be whipped, just for this article.
I noticed that the sensation of my hand shaking the container had changed a little. It didn’t feel like a smooth liquid as it did before.
I started to feel hopeful and continued for another two minutes.
Finally, the time had come.
I gently poured the cream into the dish. When I lightly tapped the container, I was greeted by beautifully whipped cream.
I felt like everything had paid off.
It took about an hour and ten minutes in total, of which ten minutes was me shaking away to make the whipped cream.
How to make sushi without a fail
Sushi is one of the most popular and famous food in Japanese cuisine.
I’m going to show you some tools that can easily make the popular ‘futomaki sushi’ and ‘nigiri sushi’!
First, let’s take a look at futomaki sushi. Usually, the ingredients are placed on a bamboo sushi mat called a ‘makisu’, then it’s rolled up.
Often the ingredients stick out, or it isn’t rolled correctly, resulting in failure.
To avoid this, the futomaki machine is handy.

Place the sushi rice on the case, add your favourite ingredients on top, cover with sushi rice as if you were making a sandwich, put the lid on, and compress as tightly as possible.
The ingredients used in the video are:
・Crab sticks (or imitation crab meat)
・Cucumber
・Egg
・Kanpyō (dried gourd – a popular ingredient used in sushi rolls)
And that’s it! That’s all the steps involved in using this gadget to make sushi rolls easily.
If you sprinkle some nori (seaweed) at the end, you’ll have the most beautiful futomaki anyone has ever seen!
Just don’t get carried away and put in too many ingredients, as you won’t be able to wrap it well with the sushi rice.
On a side note – There is a traditional Japanese custom called “Setsubun” in which a special sushi roll called ‘Ehōmaki’ is eaten on February 3rd, facing the direction where the good fortune lies for that particular year.
The main ingredients in the Ehōmaki are cucumber, egg, dried gourd, simmered shiitake mushroom, unagi (eel), sakura-denbu (pink fish floss), and shrimp.
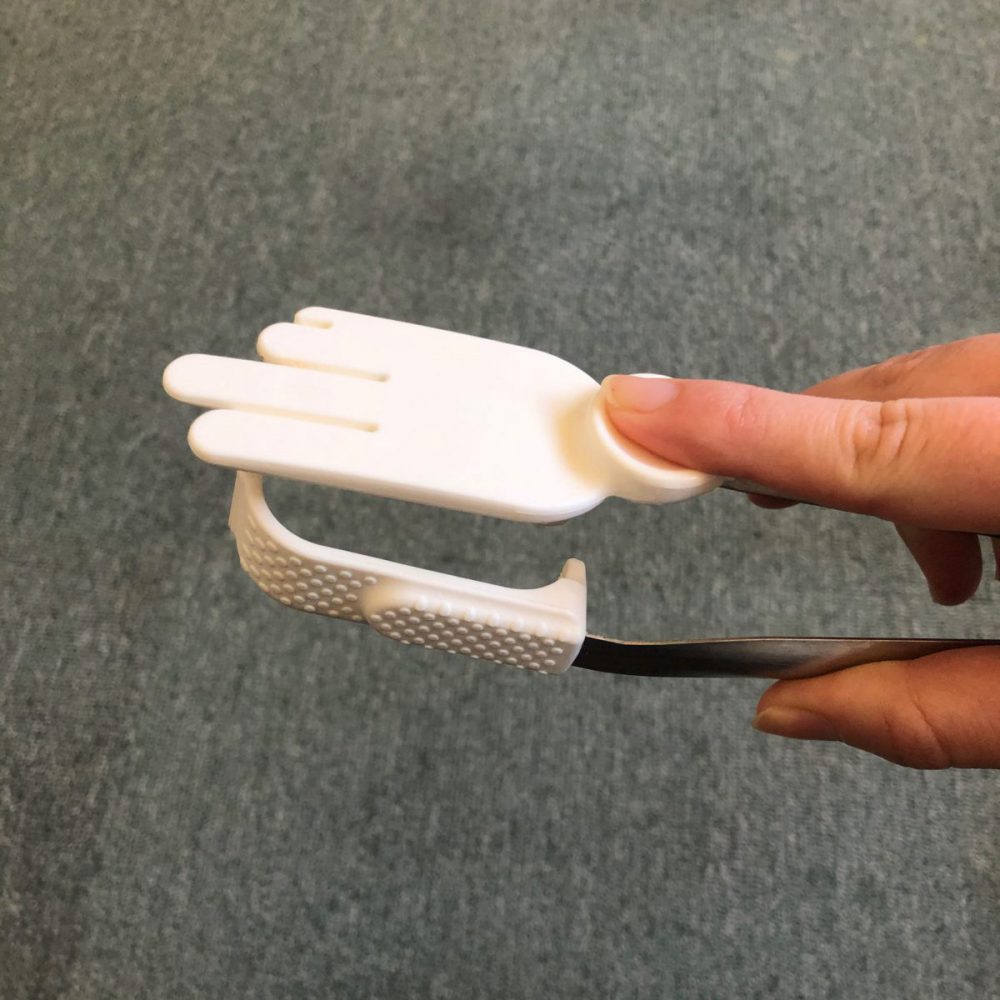
Next up is nigiri sushi. Sushi made by professional sushi chefs is very sophisticated, but when non-trained amateur home chefs try, they will often encounter difficulty getting the right amount of sushi rice and making the right shape.
This is where the nigiri sushi tongs come to the rescue.

They can form the shape of sushi by compressing it from both sides and the top.
However, if you don’t apply firm pressure, the sushi will fall apart.
I recommend compressing the sushi by wrapping it with your hands at the end.
Finally, put your favourite ingredients on top and wrap it gently with your hands once and you are done.
You can find various sushi-making tools at large supermarkets and 100-yen stores in Japan.
It will undoubtedly be a great gift from your next Japan visit to your friends and loved ones.
You should definitely give it a try.

So what are your thought?
You don’t need any tools to peel boiled eggs in an instant, so you can try it right away. It’s so easy to do.
If you have a chance to visit Japan, try to find some helpful cooking tools. You’ll be amazed at what you can find.
I’ll be introducing more interesting techniques and items regularly, so stay tuned!